
how to organize and cut the ruby star selvedge magic panel (plus a time-saving tip!)
If you’ve picked up the Ruby Star Society Selvedge Magic panel, you know how irresistibly cute those fabric letters are—and how many creative possibilities they hold! But before you can start sewing them into projects, you have to cut and organize them… and that can feel a little overwhelming.
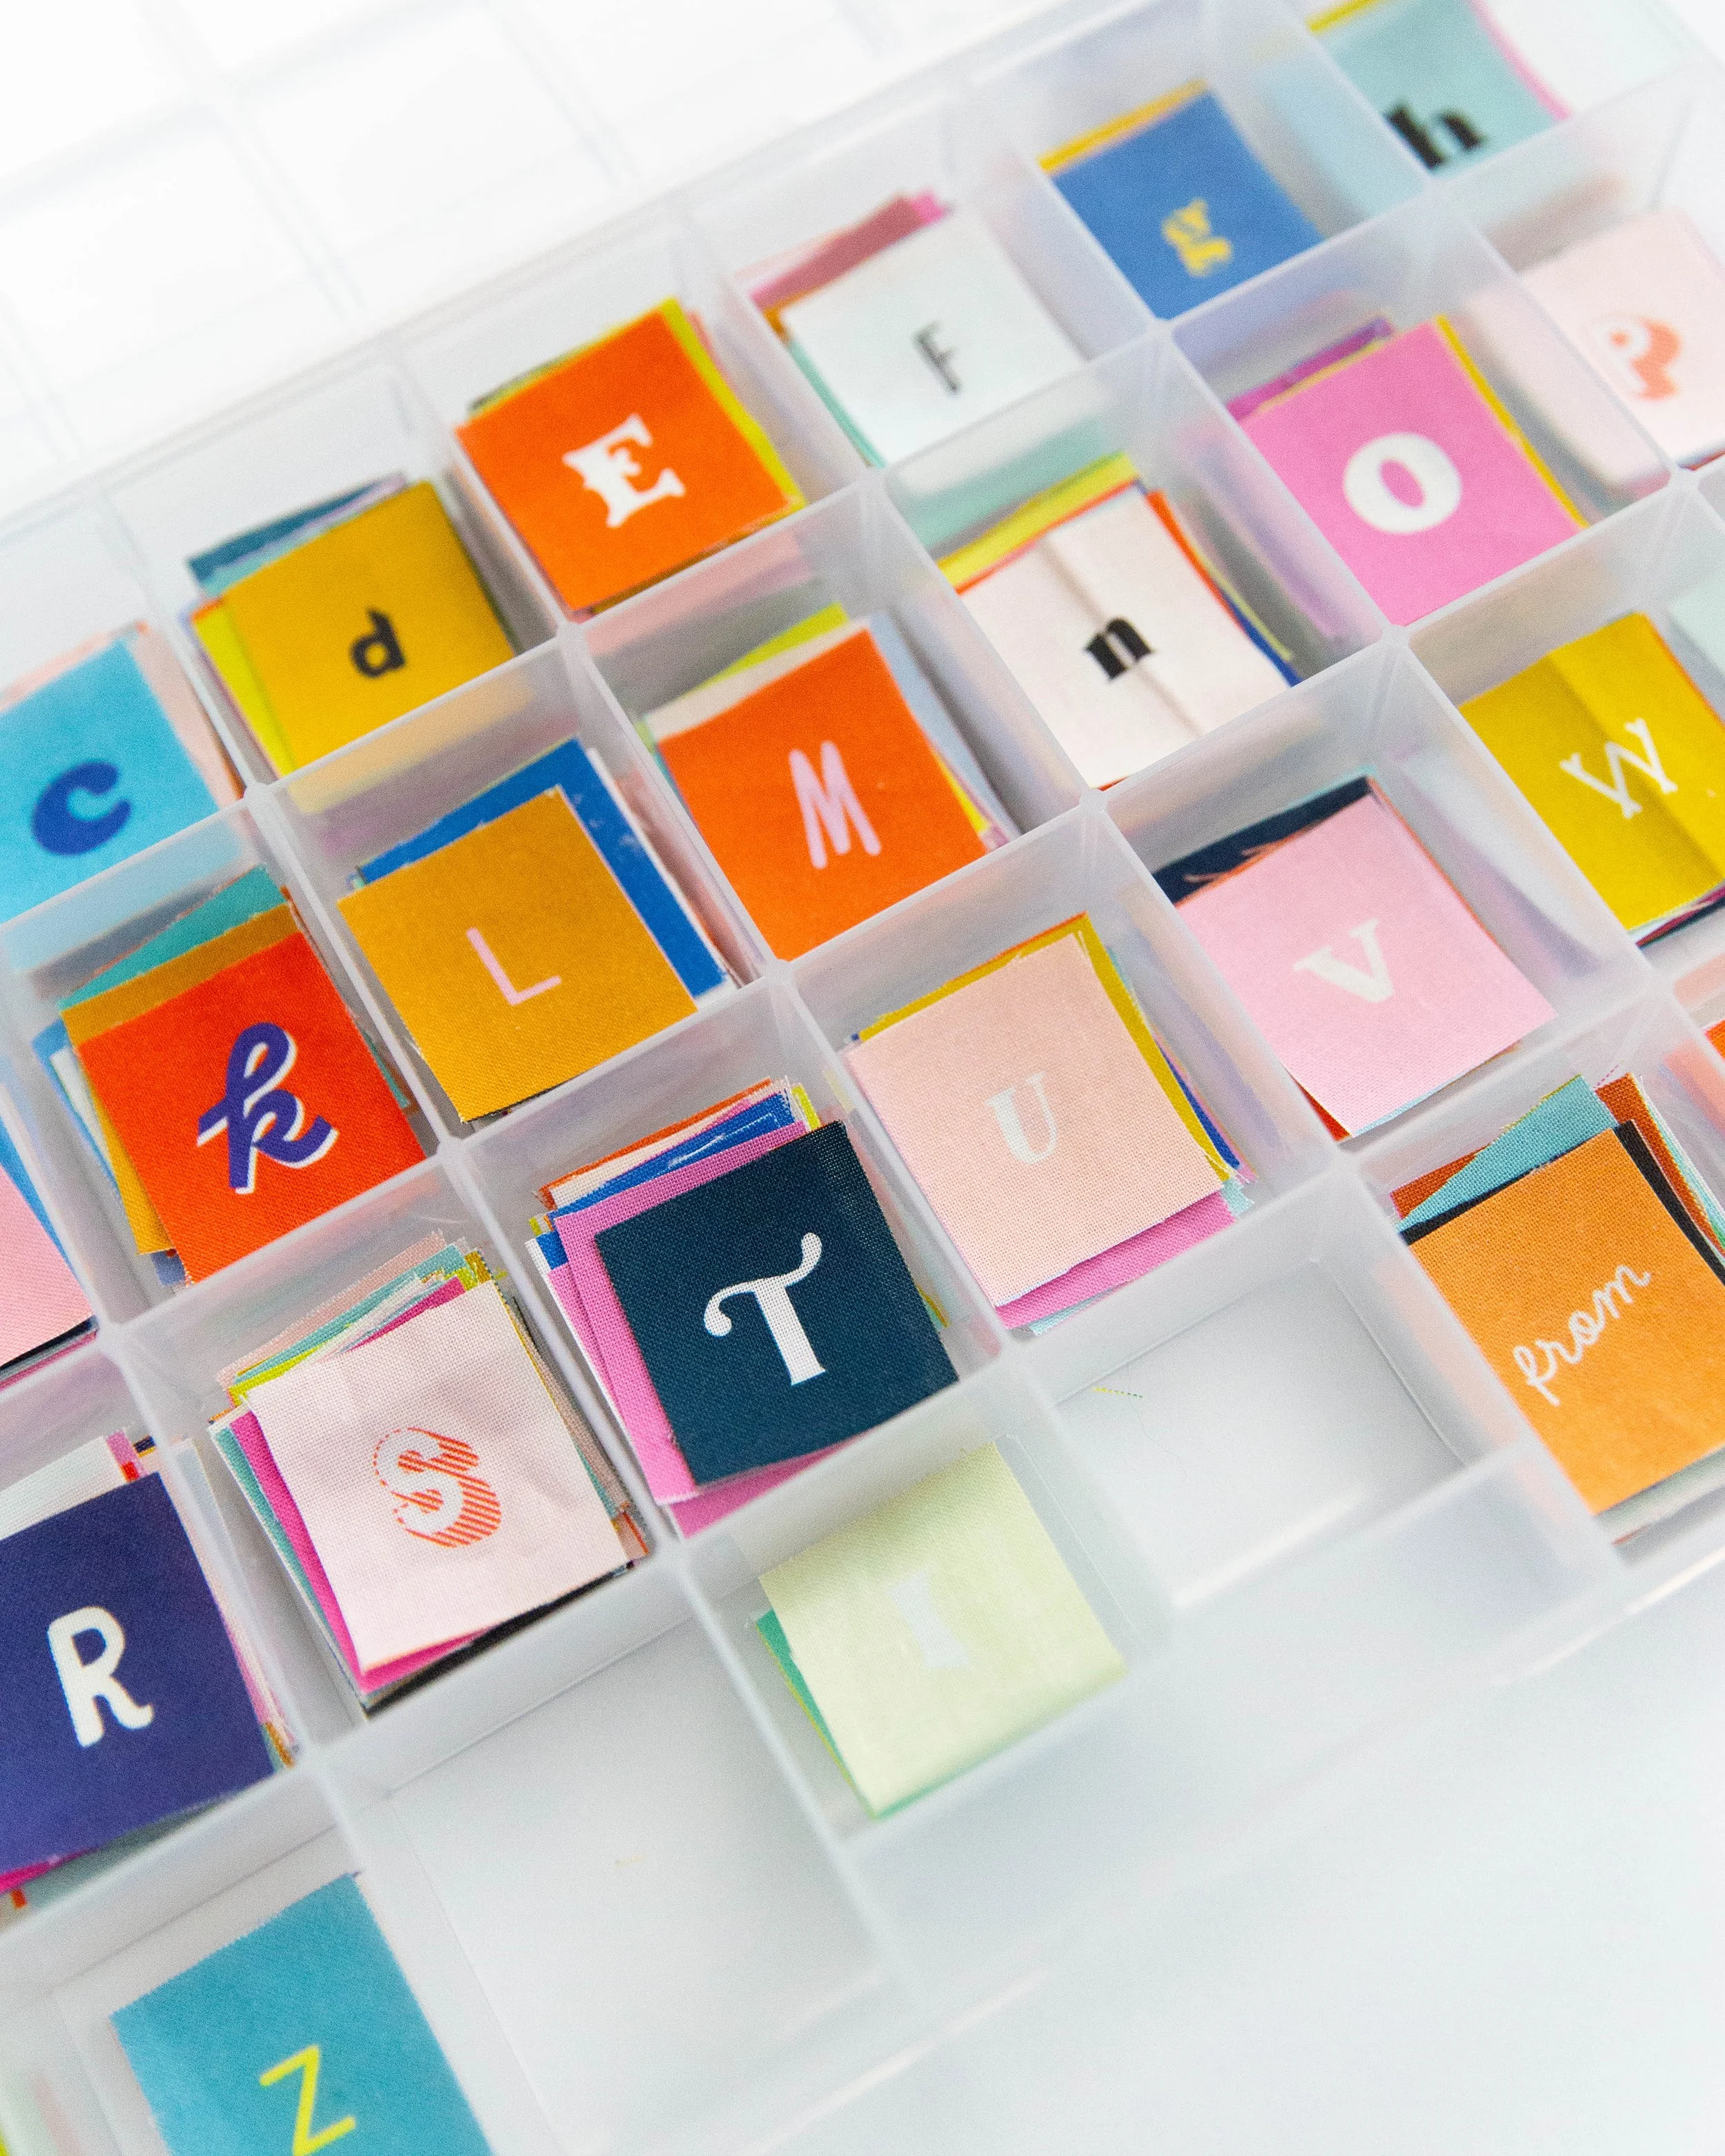
Recently, I saw Ann from Stitch Supply Co share a genius idea for organizing these letters, and I knew I had to try it. Spoiler: it works beautifully, and now I’m ready to dive into all the fun makes I’ve been dreaming about.
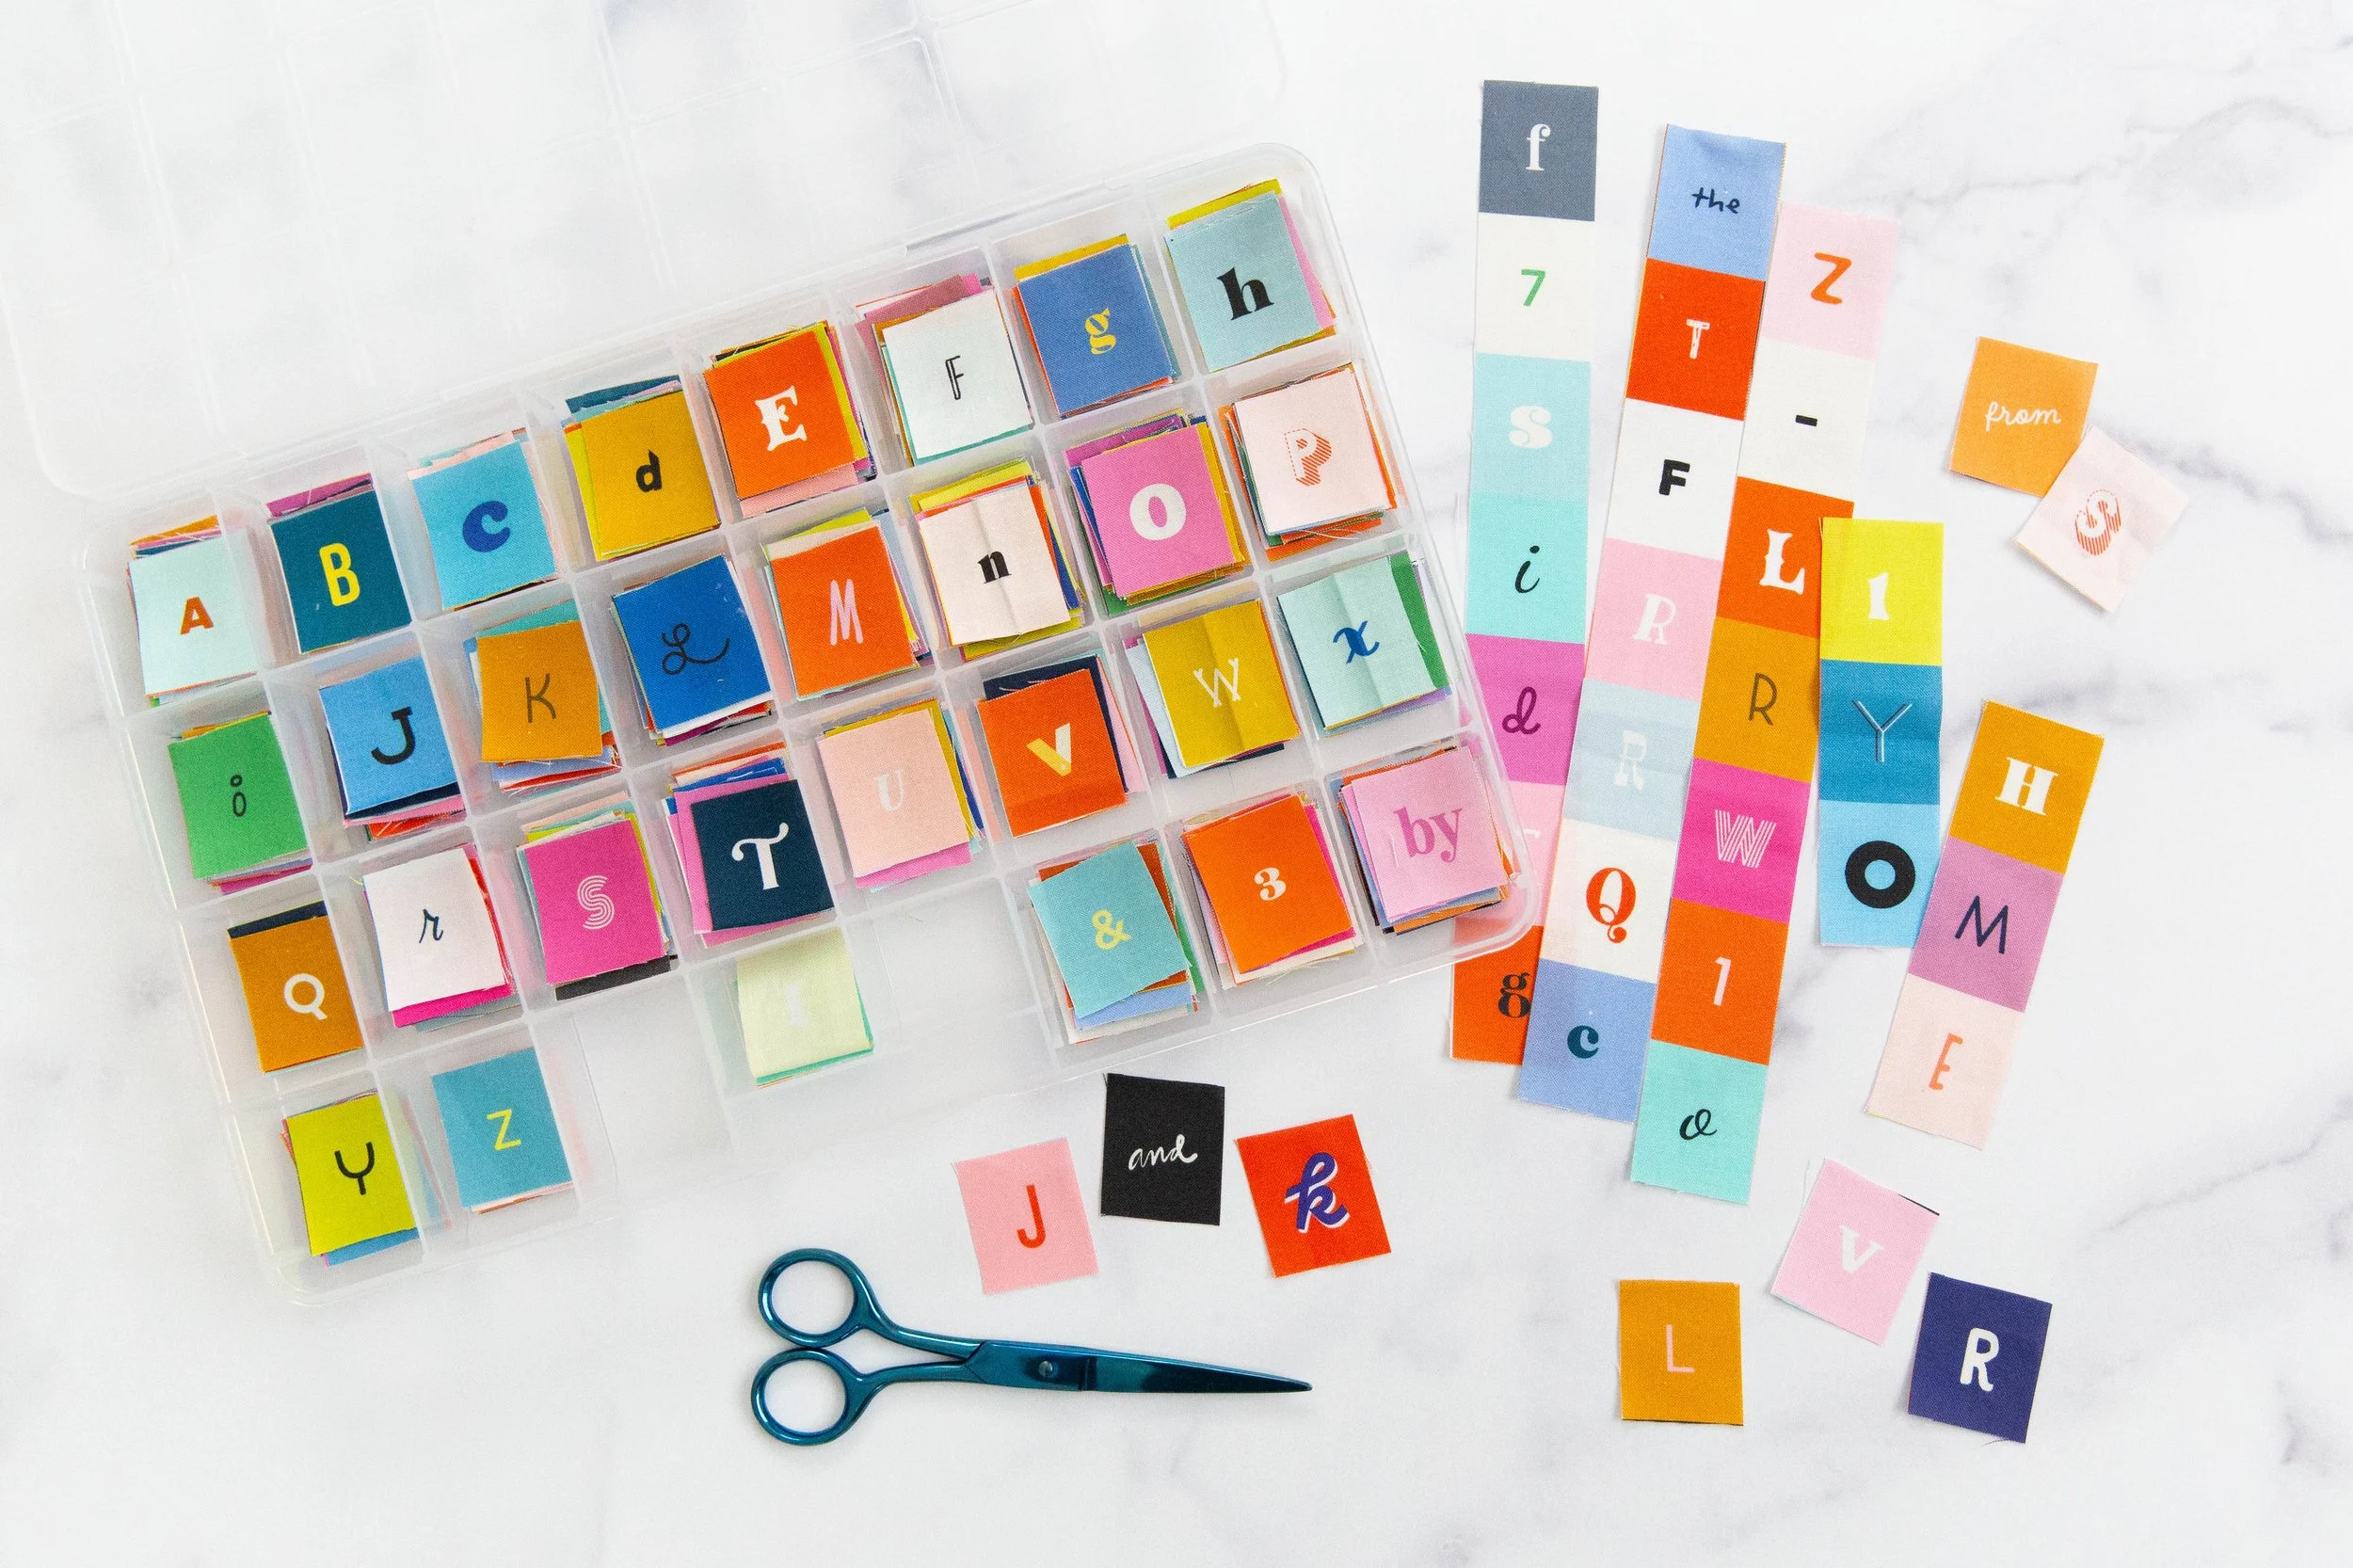
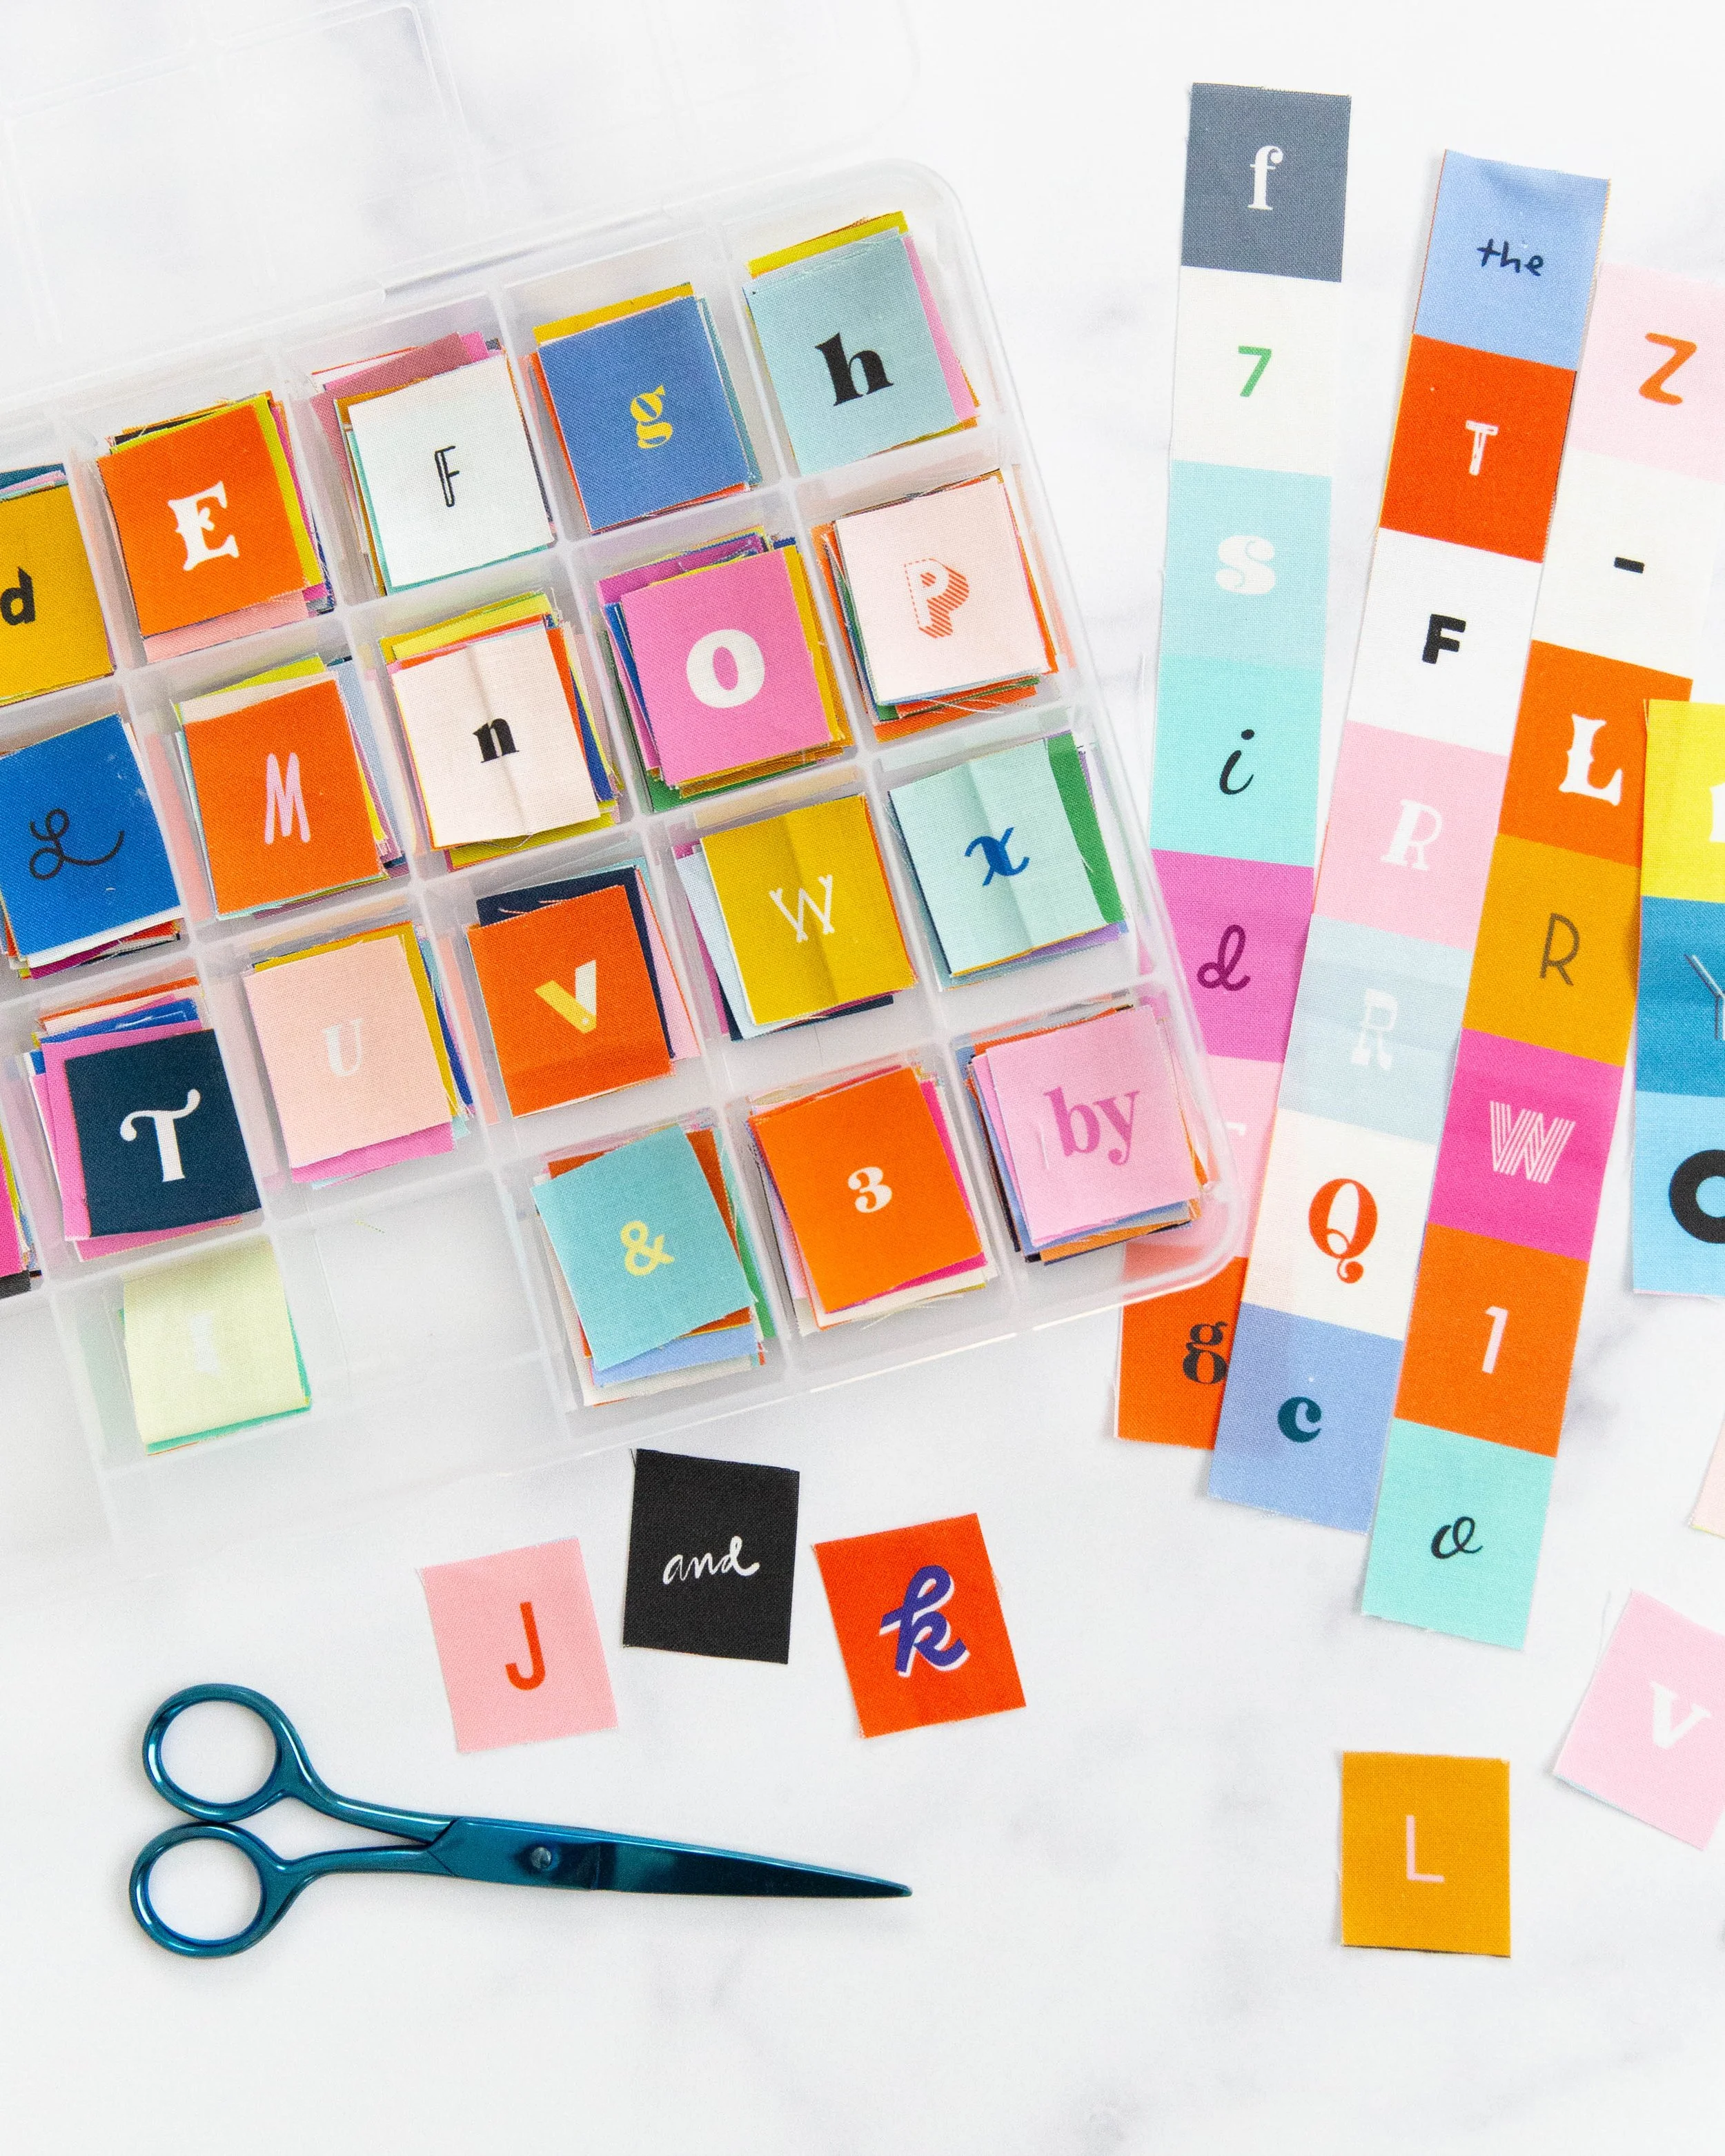
Here’s a link to the container. It’s called the The Beadery 32 Compartment Storage Box and I found mine on Amazon.
A Quick and Easy Way to Cut Your Fabric Letters
Cutting out the letters from the Selvedge Magic panel doesn’t have to be a chore. Here’s my method for keeping things neat and efficient:
Start with Smaller Sections – Use your ruler and rotary cutter to cut the panel into smaller, more manageable chunks.
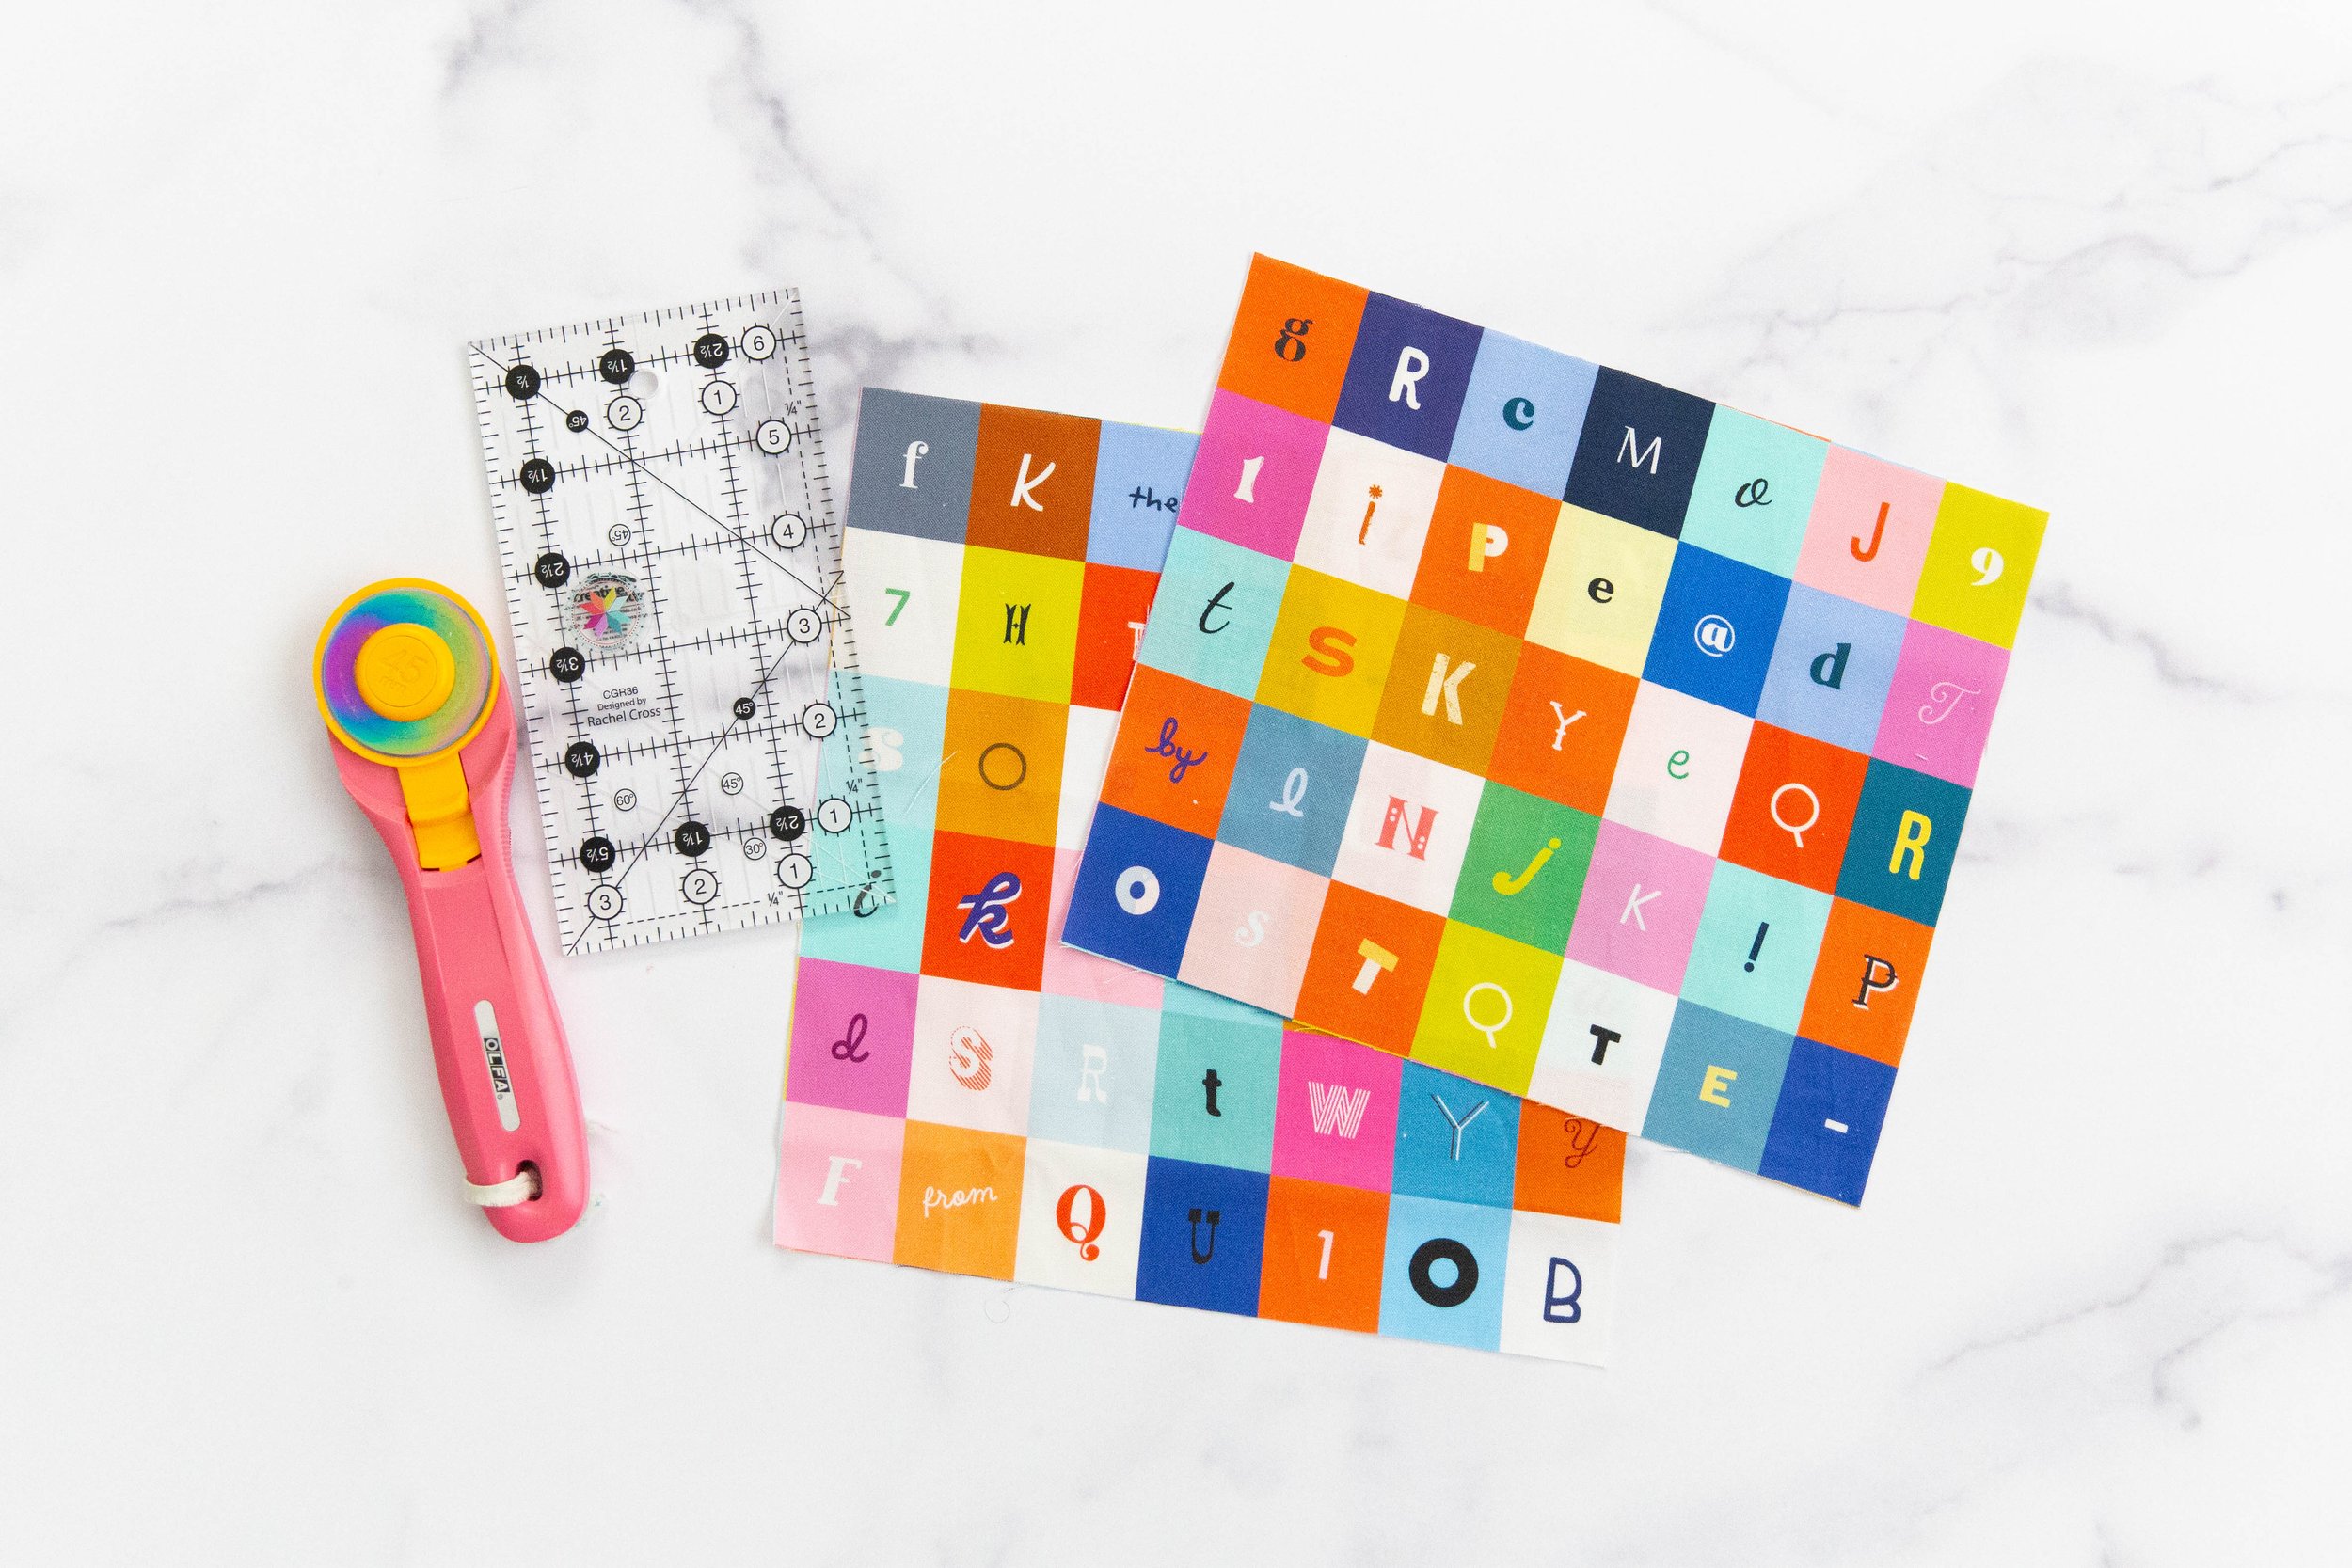
Cut Into Strips – Once you have smaller pieces, cut them into strips still using your rotary cutter and rulers.
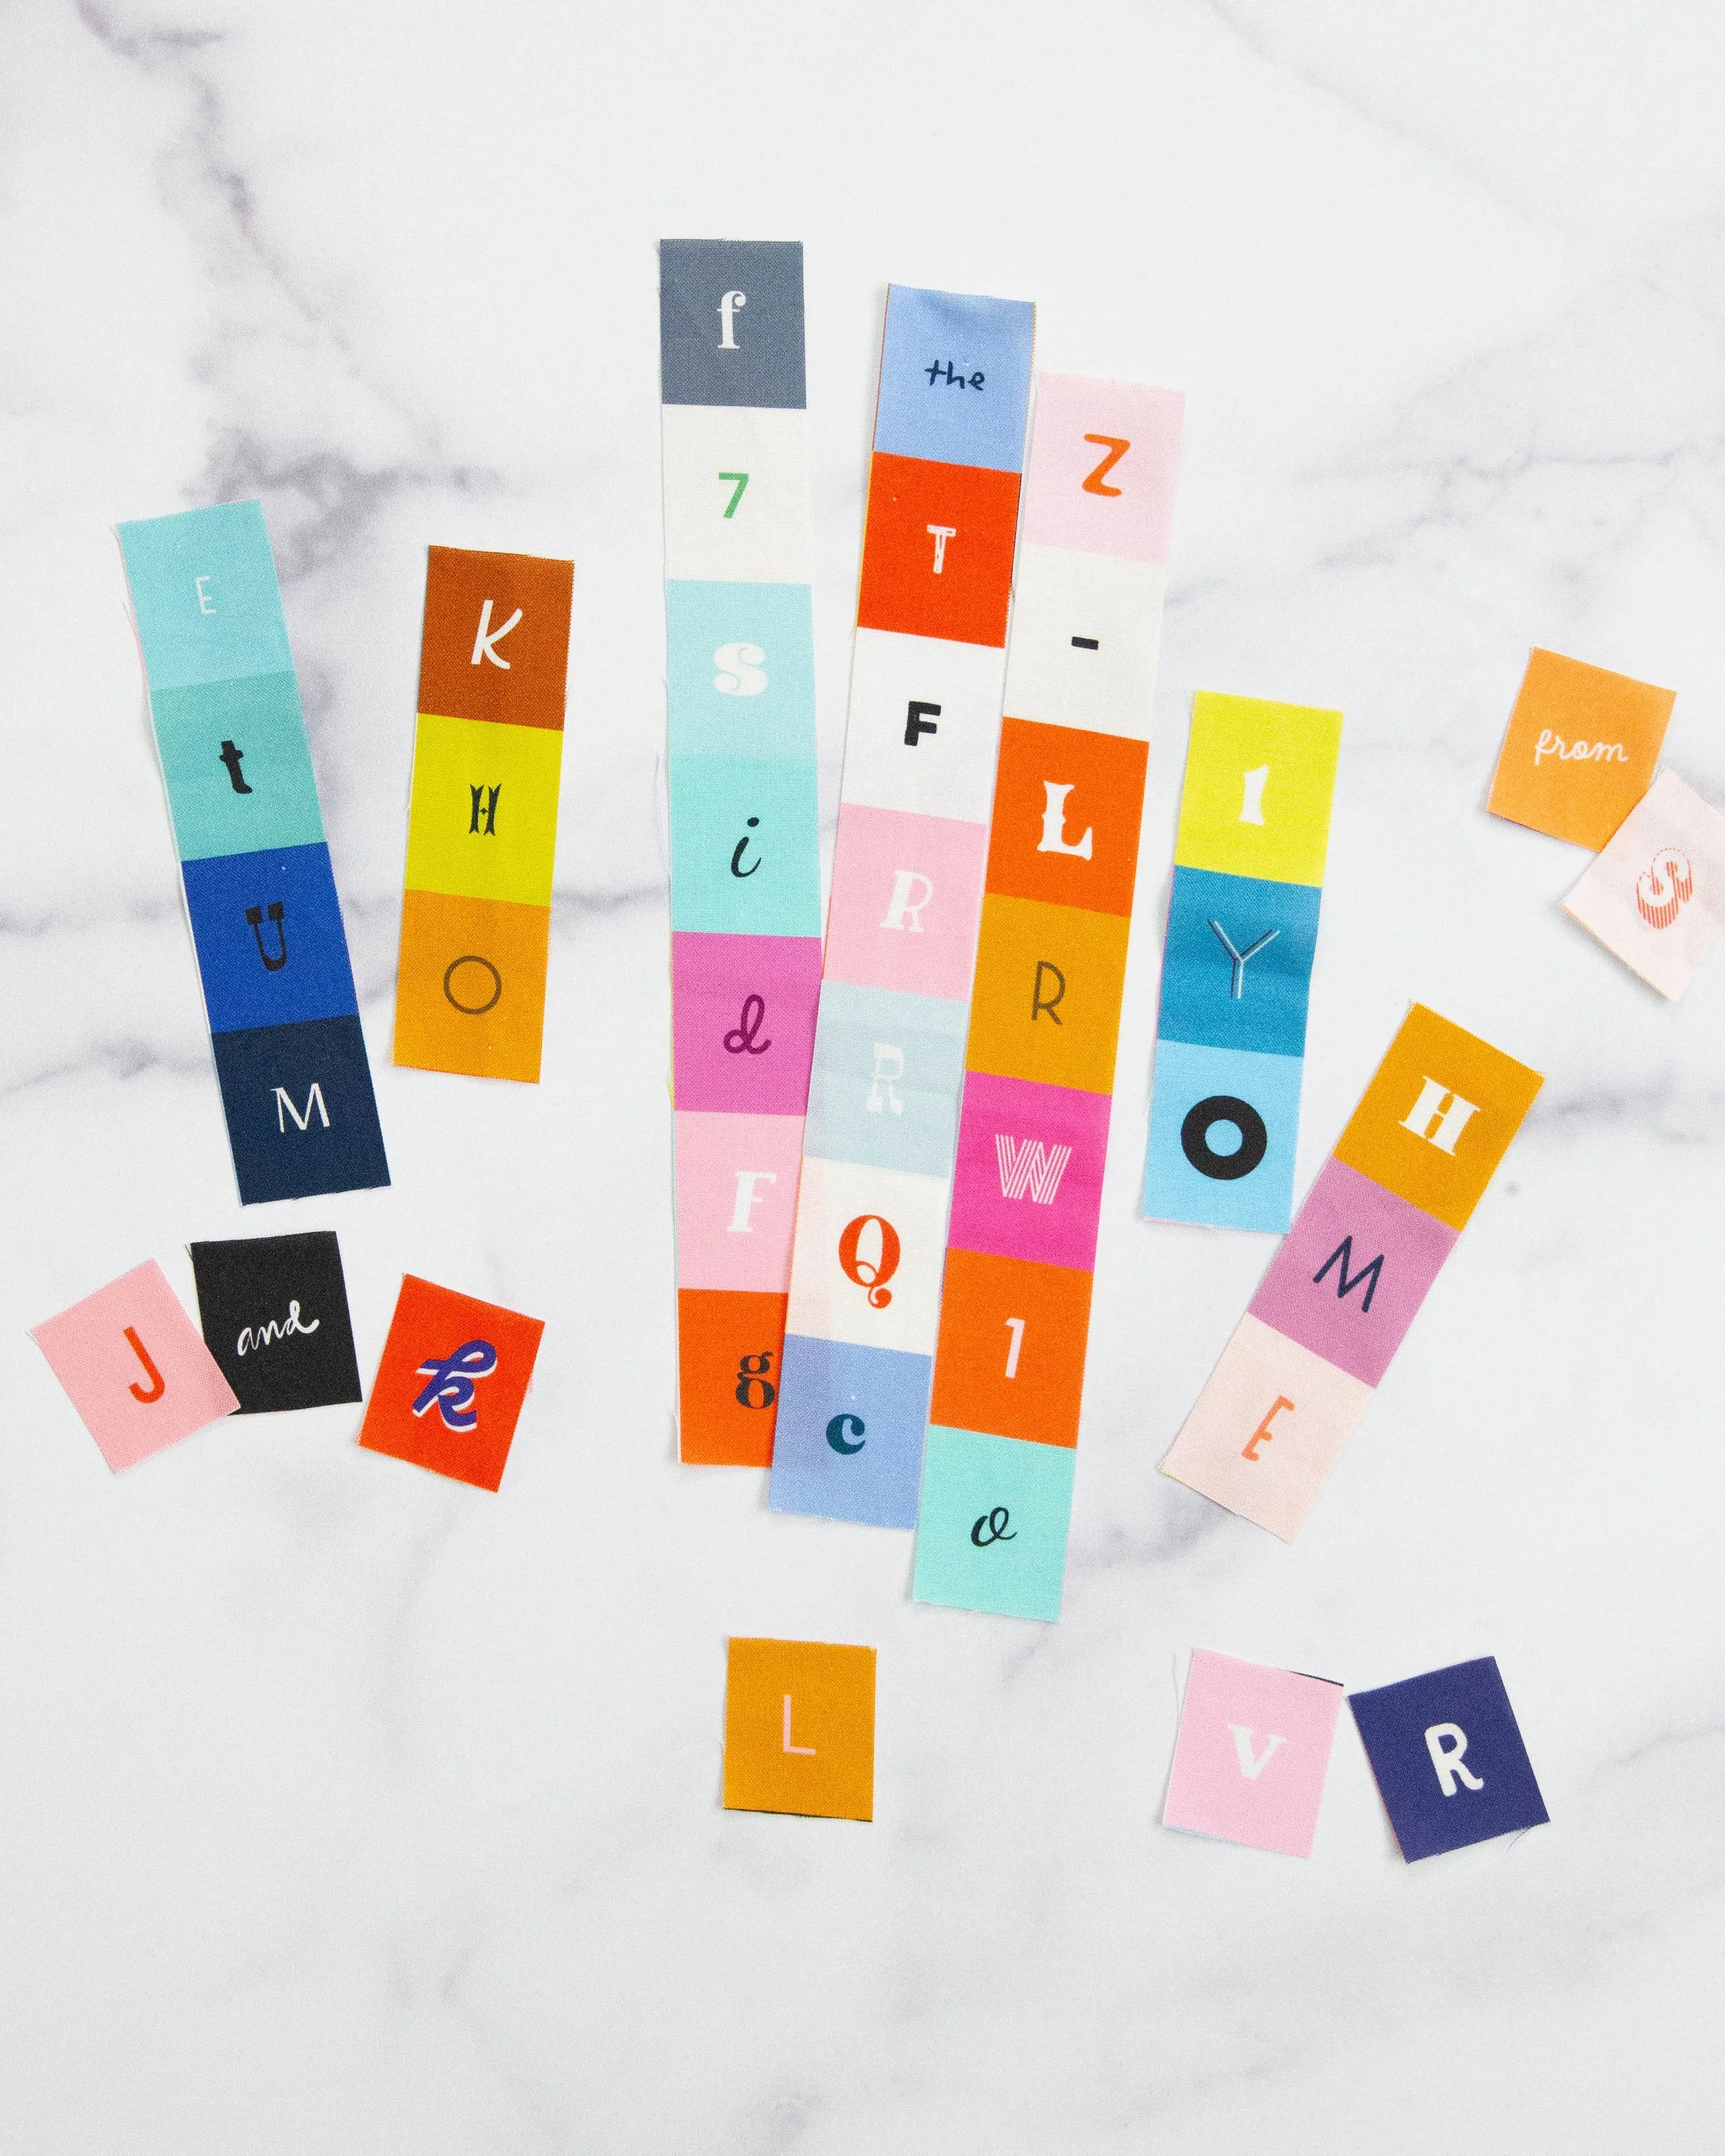
Snip with Scissors – Take each strip and snip the letters apart with scissors. This means only one cut per letter and a lot less time bent over your cutting mat.
The best part? This method makes your cutting totally portable. I cut the majority of my letters while playing a game with my boys—it was easy, relaxed, and productive all at once.
Why Organization Matters
Having your letters neatly cut and stored means you can jump straight into sewing without digging through piles of fabric scraps. Whether you’re making quilt labels, banners, or personalized gifts, an organized stash makes the creative process so much smoother.
What Will You Make?
Now that my letters are ready to go, I can’t wait to start creating. I’d love to hear your ideas—what are you making with your Ruby Star Selvedge Magic letters?